


If you’ve ever been curious about fermenting but felt a little intimidated… you’re not alone.
Fermentation can seem like one of those “advanced homestead skills” that requires special tools, exact measurements, and a whole lot of confidence.
But the truth?
It’s actually one of the simplest, most forgiving ways to preserve your food.
And once you get the hang of it, it becomes something you come back to again and again—right alongside your everyday kitchen rhythms.

A Simple Beginning (From My Kitchen to Yours)
For me, fermenting vegetables has never just been about putting food in a jar.
It’s about:
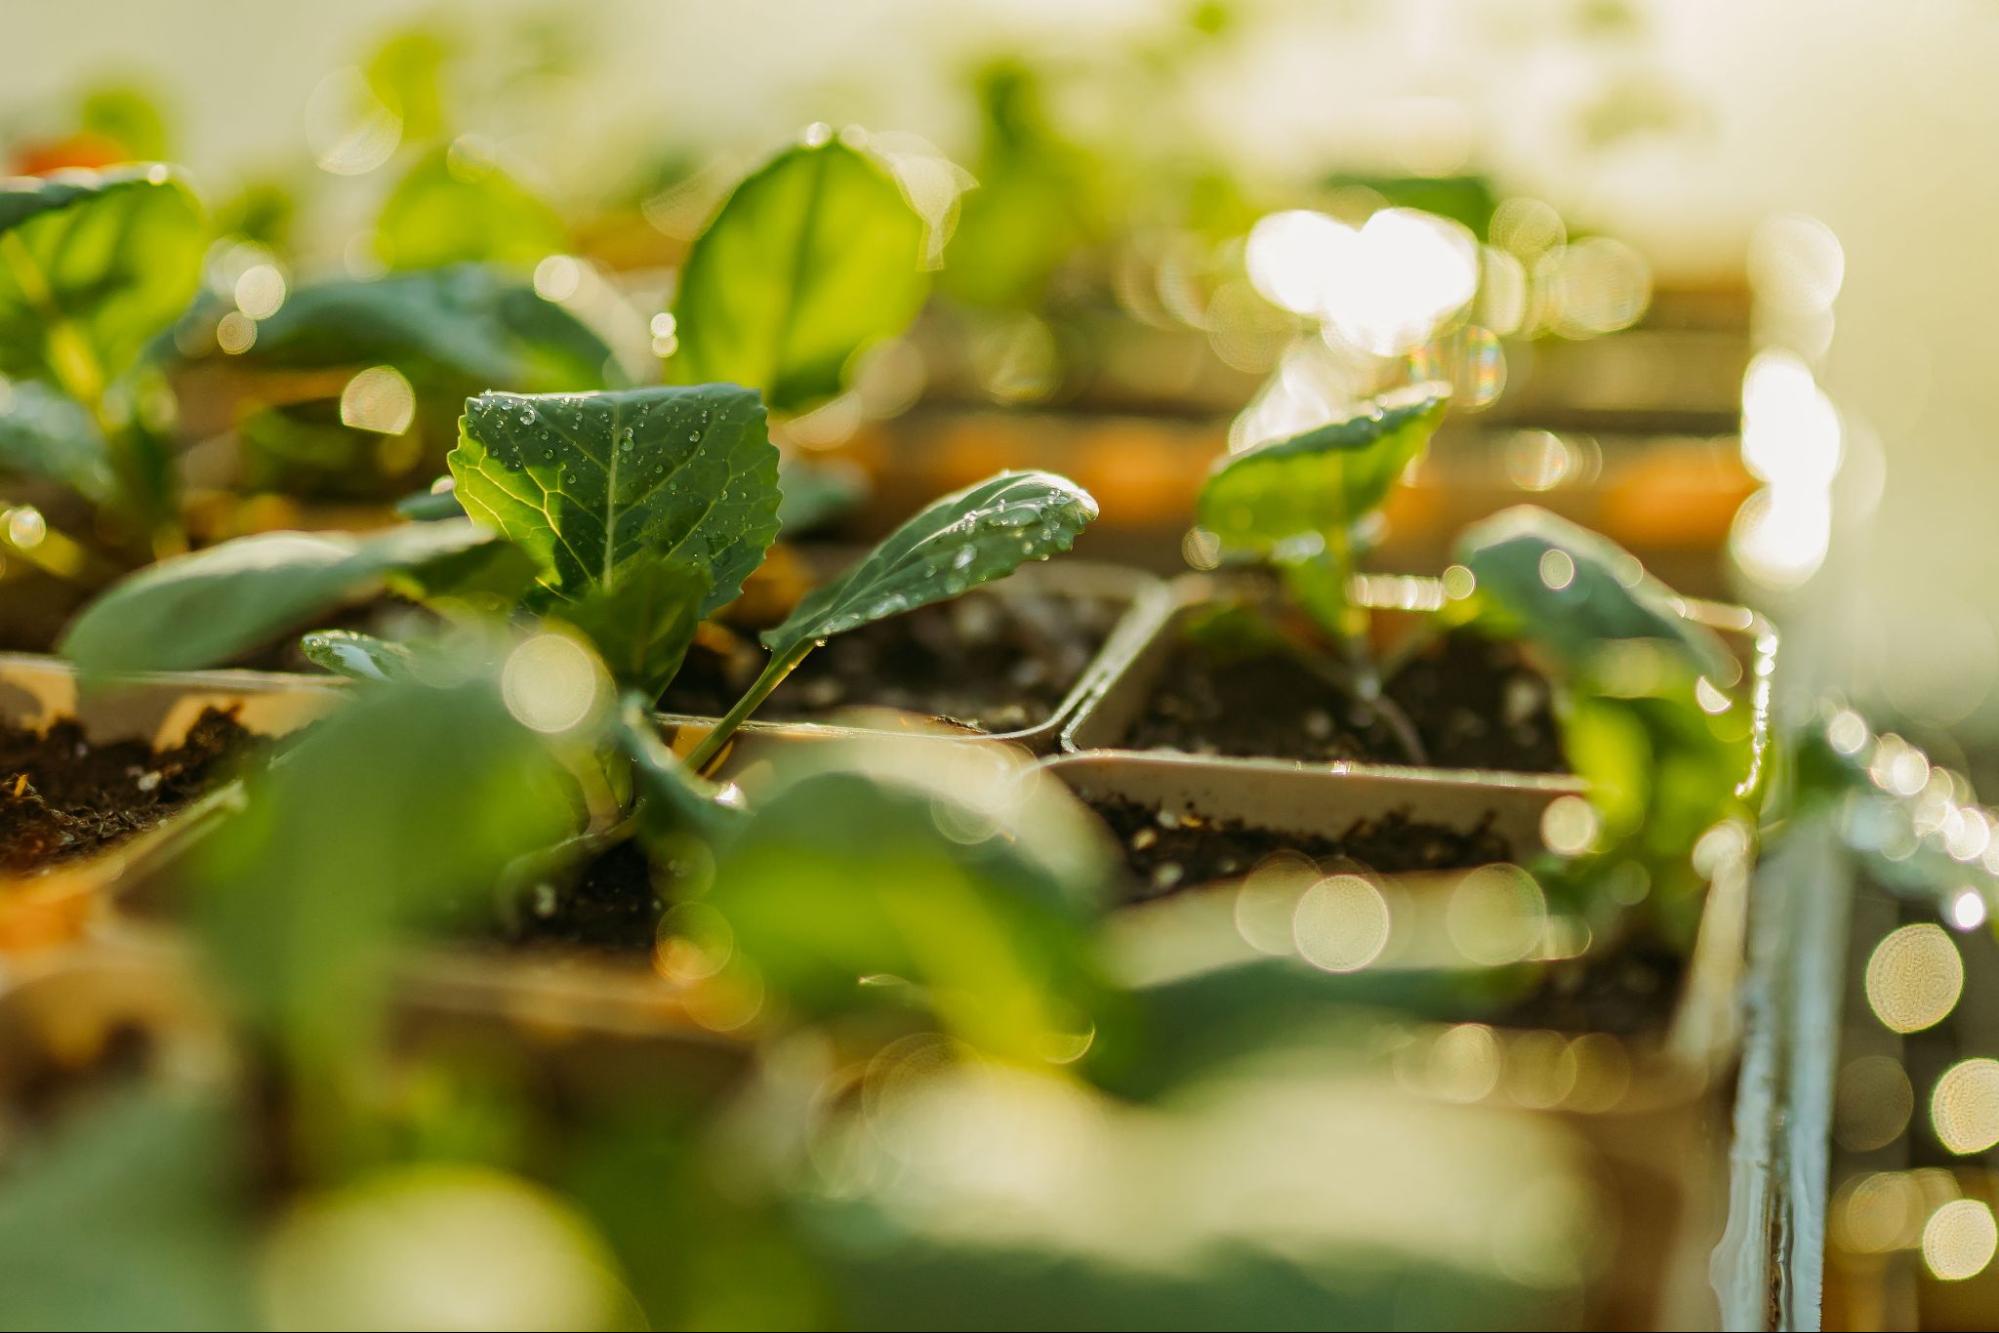
- Making the most of what we grow
- Preserving the harvest with intention
- Creating something nourishing and alive
There’s something really special about slowing down, working with your hands, and turning simple ingredients into something that supports your body and your home.
If you’ve tried fermenting before and it didn’t go quite right… I’ve been there too.
But once it clicks, it becomes less about following strict rules and more about finding a rhythm.
And it’s a good one.
What Is Fermentation (and Why It Works)
Fermenting vegetables isn’t new—it’s something people have been doing for generations.
Long before freezers and modern food storage, families relied on fermentation to preserve their harvests.
Across the world, it showed up in different ways:
- Sauerkraut in Europe
- Kimchi in Korea
- Pickled vegetables in countless cultures
It was simply part of everyday life.
So what’s actually happening?
Fresh vegetables naturally carry microorganisms on their surface.
When the vegetable is alive, everything stays balanced.
But once it’s harvested, those microbes begin to compete—and fermentation gives the good ones the advantage.
With the right conditions:
- Salt
- Time
- An oxygen-free environment
…the beneficial bacteria begin to multiply and create that signature tangy flavor while preserving your food naturally.
It’s simple. And honestly, kind of magical.

What You Actually Need to Get Started
One of the biggest misconceptions about fermentation is that you need a bunch of special equipment.
You don’t.
Here’s what’s helpful (but still simple):
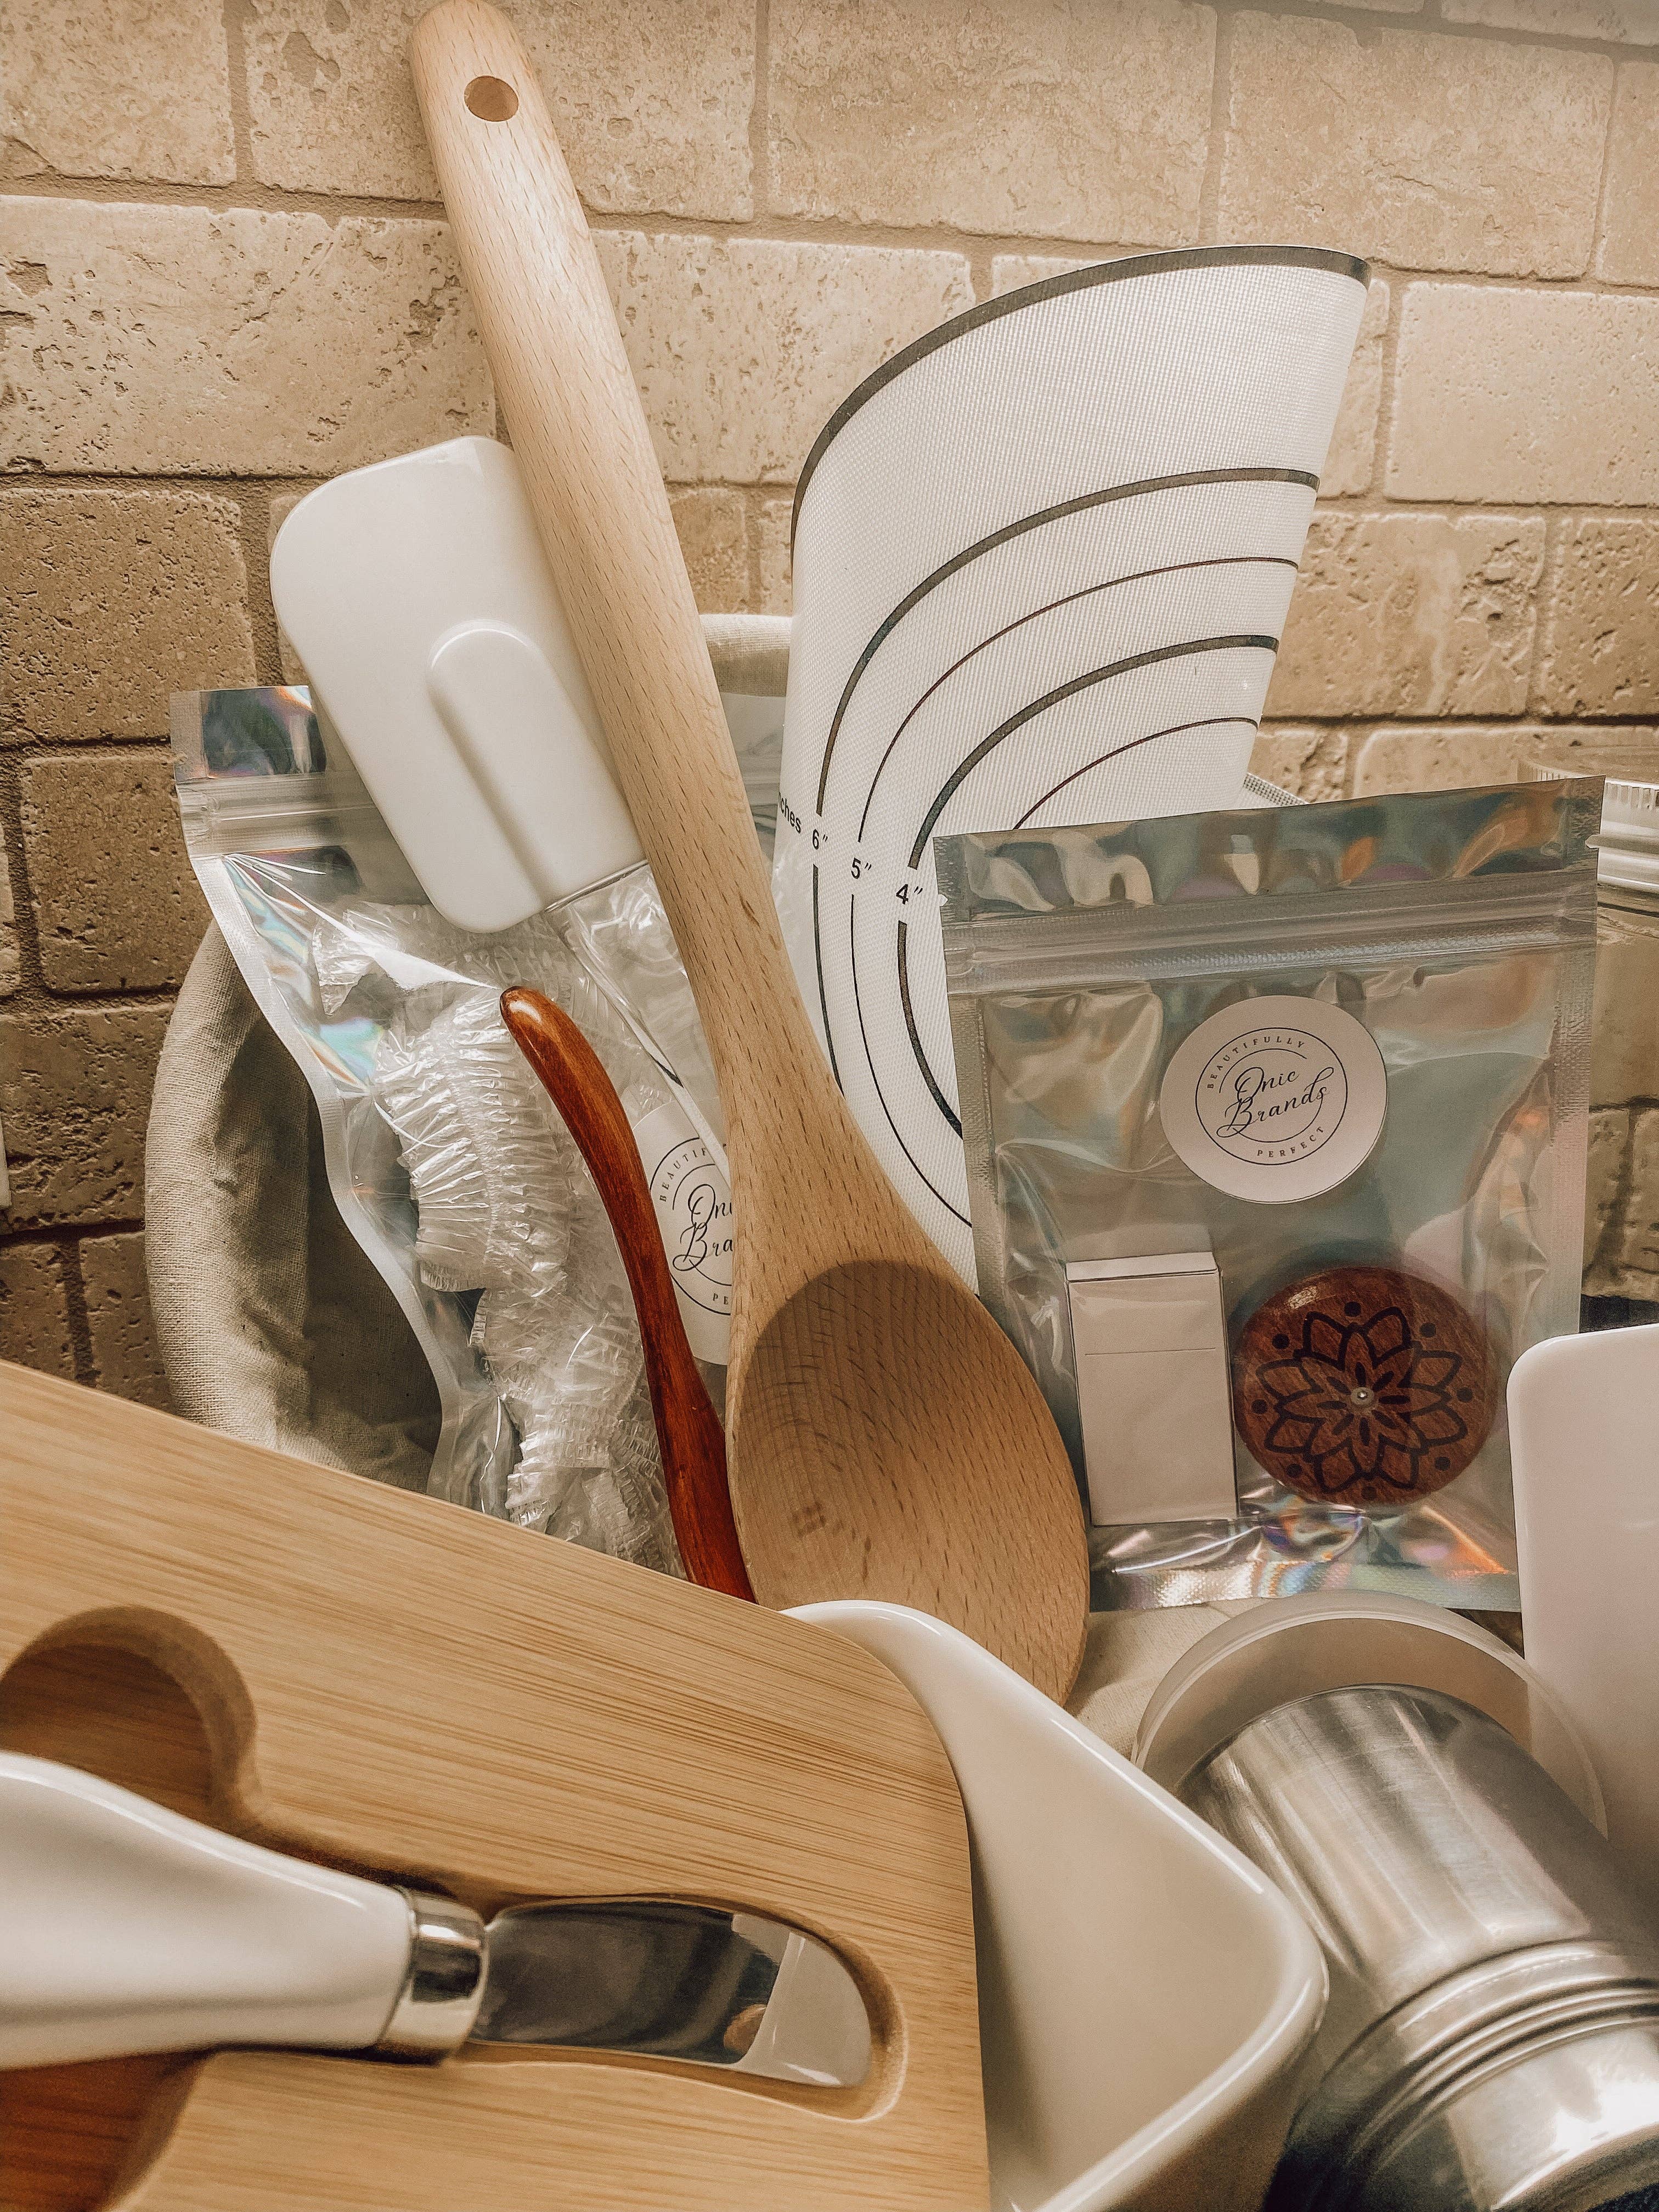
- A glass jar or fermenting vessel
- Salt (unrefined is best)
- Fresh vegetables
- Optional: weights, airlock lids, or a simple fermenting kit
That’s it.
If you like to keep things easy and not overthink it, I’ve shared the exact tools I tend to reach for inside the shop—nothing fancy, just what works.
A Few Things to Know Before You Start
If you’re brand new, this part will save you a lot of second-guessing.
1. Not everything will look “perfect”
Cloudy brine, bubbles, or even a little overflow?
Totally normal.
Those are signs your ferment is alive and doing exactly what it should.
2. Keep everything submerged
This is one of the most important rules.
Anything sticking out above the brine is more likely to spoil.
3. Use good salt and water
Skip iodized salt and heavily chlorinated water if you can.
Simple, clean ingredients really do make a difference here.
Easy Fermented Carrots (A Perfect First Recipe)
If you’re not sure where to start, this is it.
Fermented carrots are:
- Simple
- Kid-friendly
- Hard to mess up
Ingredients:
- 2 lbs carrots, peeled and cut into sticks
- 1 quart filtered water
- 2 tablespoons unrefined salt
How to Make Them:
1. Make your brine
Mix salt and water until dissolved.
2. Pack your jar
Place carrot sticks tightly into your jar. Add herbs or spices if you’d like.
3. Add the brine
Pour over carrots until fully covered. Leave a little space at the top.
4. Let them ferment
Set somewhere out of direct sunlight for about 7–14 days.
5. Check and taste
Make sure carrots stay submerged. Start tasting once the brine turns slightly cloudy.
6. Store
Once they taste good to you, move them to the fridge.
They’ll keep for months.
Fermented Radishes (A Little More Adventurous)
If you’re ready to try something different, radishes are a fun next step.
They bring a bold flavor—and yes, they can get a little funky while fermenting. That’s completely normal.
Ingredients:
- 3 lbs radishes, thinly sliced
- 1 tablespoon salt
- Zest + juice of 1 lemon
How It Works:
This uses a sauerkraut-style method:
- Massage salt into the radishes until they release liquid
- Pack tightly into a jar
- Press down so the natural brine rises
- Keep everything submerged
Let ferment for 5–14 days, tasting as you go.

What to Expect Along the Way
Fermentation isn’t about exact timelines.
It’s about watching, tasting, and adjusting.
Some things you might notice:
- Bubbles forming
- Brine turning cloudy
- A slightly sour smell developing
All good signs.
Your kitchen might smell a little strong at times—that’s just part of the process. Don't worry!
Making Fermentation Part of Your Rhythm
Once you try it a few times, you’ll start to see how naturally it fits into your routine.
It becomes:
- A way to use up extra produce
- A simple preservation method
- A creative rhythm in your kitchen
You can experiment with:
- Different vegetables
- Herbs and spices
- Fermenting times
There’s no one “right” way—just what works for you and your home.
If you’re someone who likes a little more guidance as you go (or just wants to feel more confident starting out), I walk through this step-by-step inside my Fermentation Course—everything from troubleshooting to flavor ideas to building a rhythm that feels doable.
If You’ve Been Hesitating… Start Here
You don’t need to know everything.
You don’t need special tools.
And you definitely don’t need to get it perfect the first time.
Just start with a jar, some vegetables, and a little curiosity.
That’s more than enough.
And once you see those first bubbles start to form, something shifts—you realize this isn’t complicated at all.
It’s just one more simple, beautiful way to care for your home and the food you’re growing.
And you’re more than capable of doing it.


