


Creating a sourdough starter from scratch may seem daunting, but it is a rewarding experience that allows you to bake deliciously tangy bread right from your kitchen. This guide will provide you with everything you need to get started, from the ingredients required to the steps necessary to cultivate a thriving sourdough culture. In just seven days, you will have your own active sourdough starter ready to use in your favorite recipe
What is Sourdough Starter?
A sourdough starter is a mixture of flour and water that fosters wild yeast and bacteria. Unlike commercial yeast, which can be purchased at the store, sourdough relies on naturally occurring yeasts in the environment. This process gives sourdough its unique flavor and texture, making it a favorite among many bread enthusiasts
Why Make Your Own Starter?
Aside from the satisfaction of creating something from the ground up, there are several benefits to making your own sourdough starter:
- Cost-effective: If you already have flour and water at home, making your own starter can save you money.
- Health Benefits: Homemade sourdough can be easier to digest than store-bought bread due to the fermentation process.
- Quality Control: By making your own starter, you have control over the ingredients and can ensure it’s made with high-quality, organic flour.
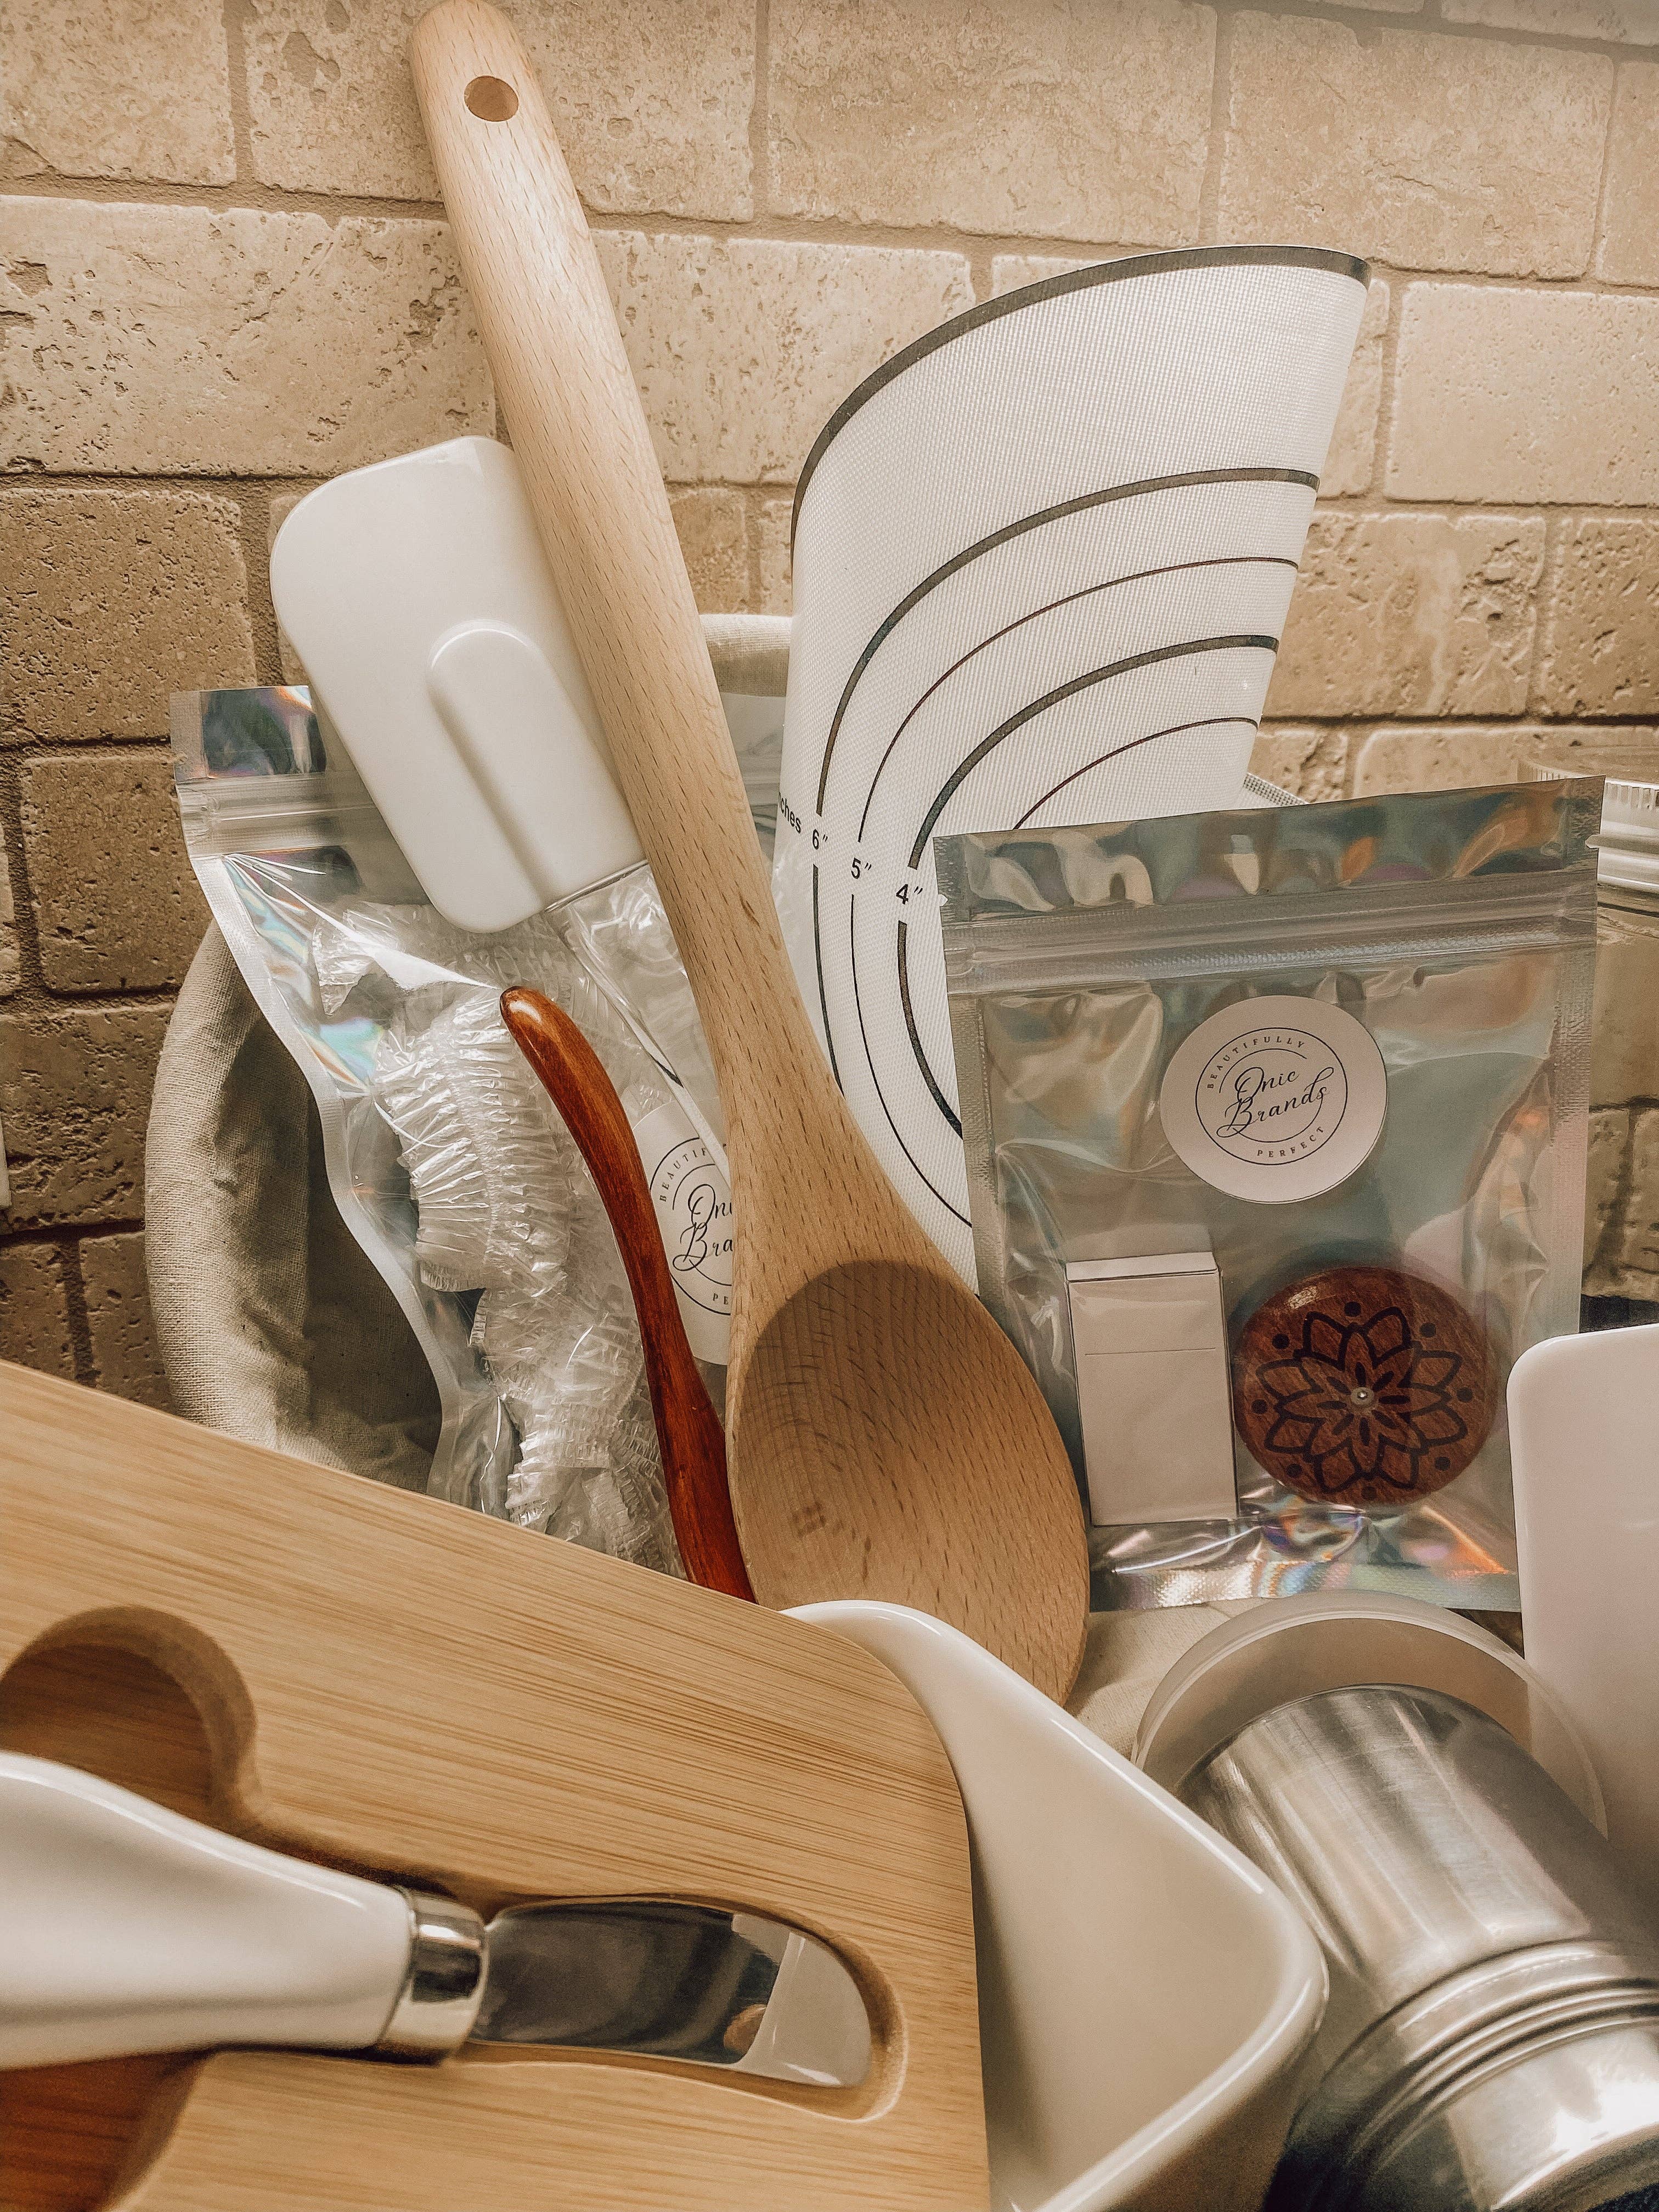
Ingredients Needed
To create your sourdough starter, you will need the following:
- A Quart Mason Jar: This will hold your mixture as it ferments.
- Filtered Water: Avoid tap water, as chlorine can hinder the fermentation process. Using filtered water ensures a healthy environment for your starter.
- Whole Wheat or Rye Flour: These flours are recommended for starting your sourdough starter due to their higher nutrient content, which feeds the wild yeast.
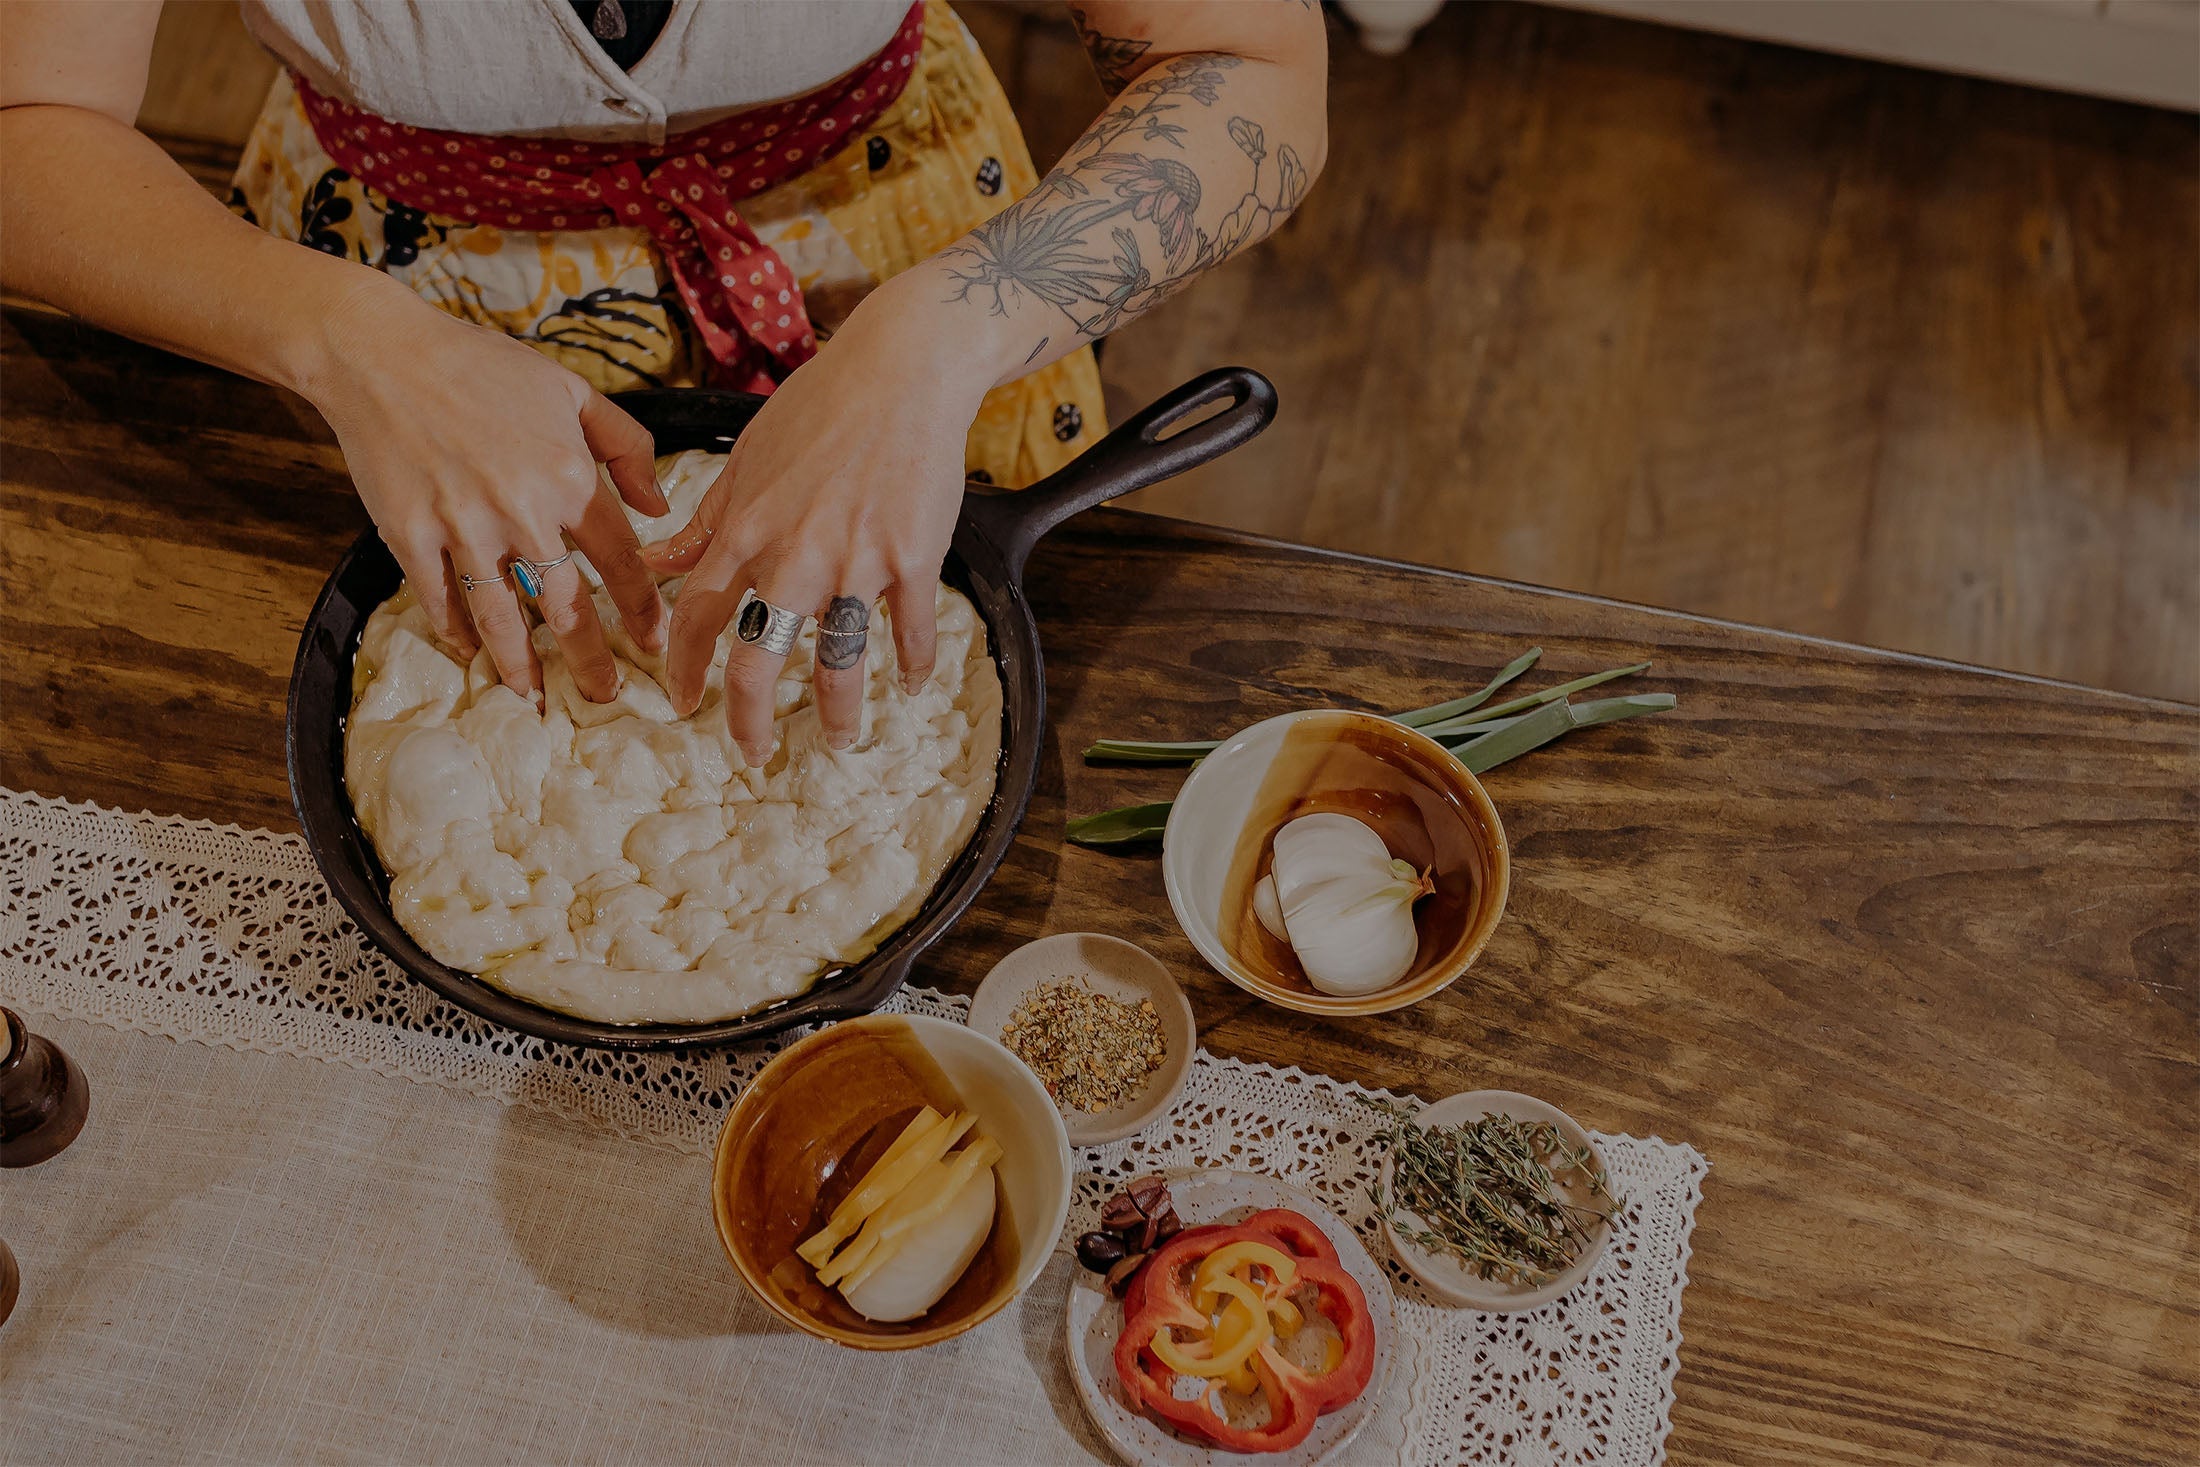
Step-by-Step Instructions to Create Your Sourdough Starter
Getting started takes around seven days. Below are the daily steps you'll need to follow:
Day 1: Mixing the Starter
- Combine Ingredients: In your clean quart mason jar, add 1 cup of whole wheat flour and 1 cup of filtered water.
- Mix Well: Use a spatula to mix until the flour is fully incorporated with the water. Ensure there are no dry bits of flour.
- Cover: Loosely cover your jar with a lid or a damp kitchen towel to allow air circulation while preventing dust from entering.
- Let Sit: Leave the mixture at room temperature for 24 hours.
Day 2: Feed Your Starter
- Discard Half: Remove half of the mixture (around 1 cup) from the jar. Discard it or use it in another recipe.
- Refill: Add 1 cup of whole wheat flour and 1 cup of filtered water back into the jar.
- Mix: Stir thoroughly and cover loosely again.
- Rest: Place it back in a warm spot for another 24 hours.
Days 3-5: Continue Feeding Daily
Repeat the process each day:
- Discard half and refeed with equal parts flour and water.
- By Days 3 and 4, you should start seeing the first signs of bubbles, indicating that fermentation is taking place.
Day 6: Increase Feeding Frequency
- Discard Half: Continue discarding half of the starter.
- Refill: Instead of every 24 hours, feed your starter every 12 hours with 1 cup of flour and 1 cup of water.
- Monitor Activity: By now, you should notice more bubbles and growth in the volume of your starter.
Day 7: Ready to Bake
- Final Feed: After your regular feeding, observe the activity of your starter. It should be bubbly and active, possibly overflowing the jar.
- Testing the Starter: If your starter doubles in size after feeding and shows bubbles, it's ready for baking!
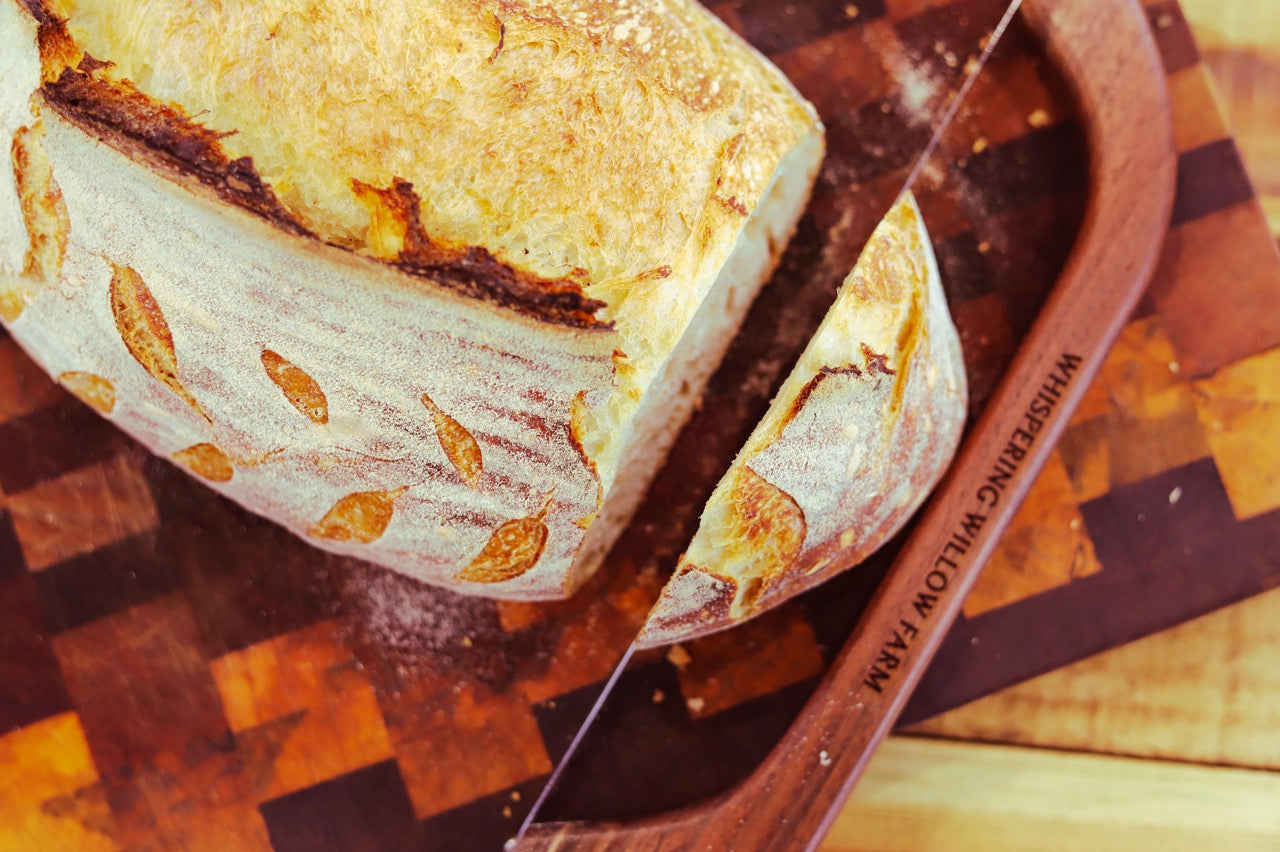
- Use: Transfer the starter into a recipe for sourdough bread or other baked goods.
Maintaining Your Sourdough Starter
Once you’ve created your sourdough starter, maintaining it is key to its longevity:
- Feeding: If using it regularly, continue to feed it every 12-24 hours. If not, you can store it in the refrigerator and feed it weekly.
- Reviving: If your starter smells off or hasn't been fed for a while, consider discarding half and feeding it to revive its activity.
Troubleshooting Your Starter
If your starter isn't bubbling or growing:
- Ensure it is kept in a warm area, ideally between 70-85°F.
- Check that you’re using whole wheat or rye flour initially, as these flours are more conducive to the growth of wild yeast.
Conclusion
Making your own sourdough starter from scratch is not only a fun project but also an empowering baking endeavor. With just flour, water, and a bit of patience, you can cultivate your very own starter ready to transform into delicious, homemade sourdough bread. Happy baking, and may your starter flourish!
For those eager to start baking right away, check out the link below for a free eBook with delicious recipes:
So gather your ingredients, and take that first step towards delicious, homemade sourdough today!
If you would rather have a video tutorial, check out the video below.
Need more hands on help?
Check out our Art of Sourdough Baking Course


